Want to know about my master bath? I hope so because I’m excited.
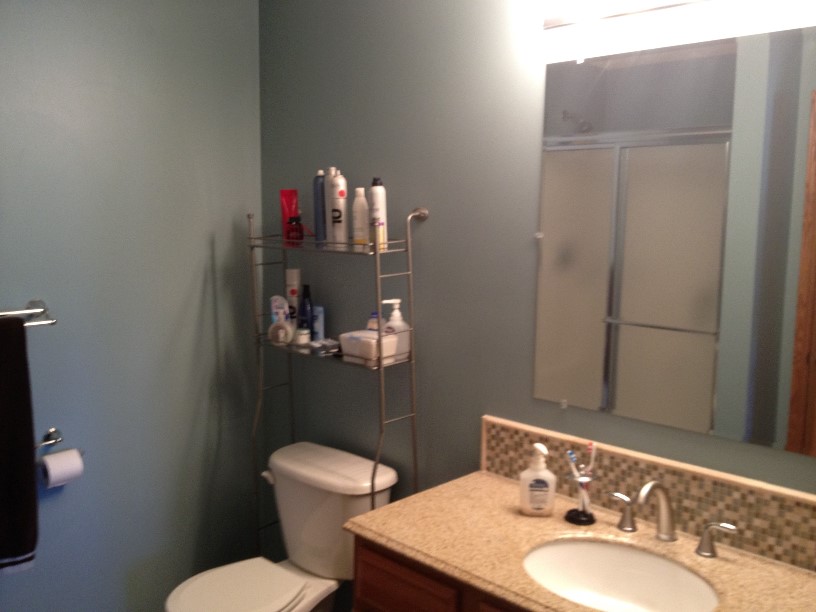
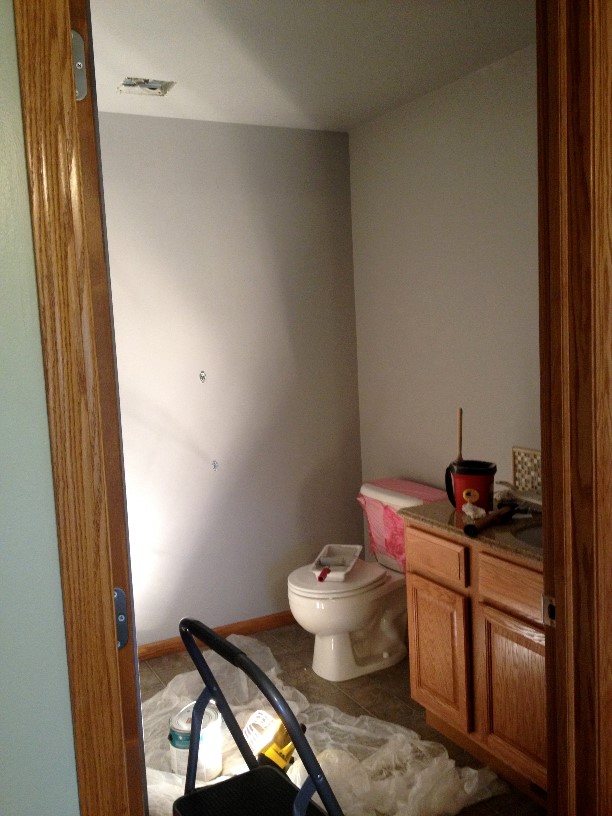
When we moved in it looked like this.
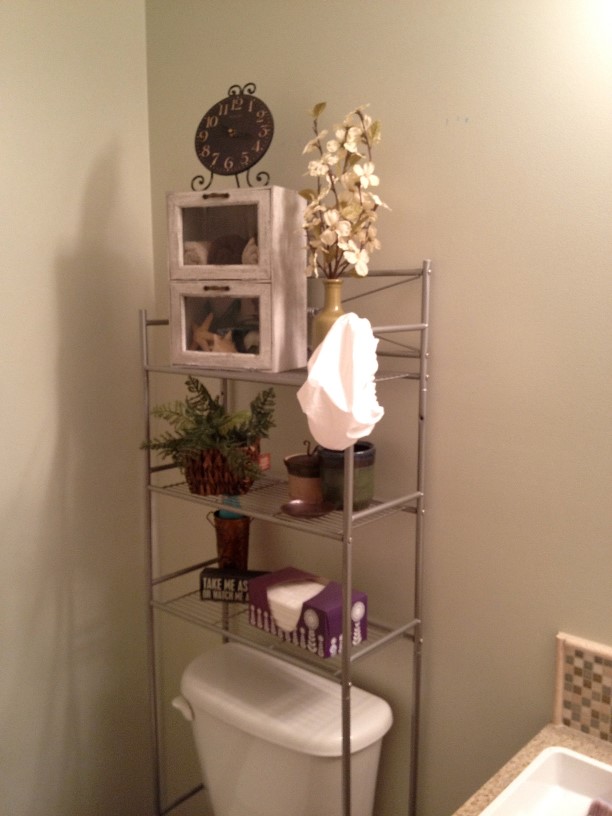
I painted the bedroom and bathroom in shades of green and swapped out the toilet rack for a different toilet rack. Then I discovered that one bulb in our builder grade light fixture did not work. That looked something like this…
After reading blogs and joining Pinterest I decided that my original decorating plan was not my favorite, so I decided to change things up again.
One night I had the idea to make shelves for over the toilet. You see… it all started when I accidentally bumped our store-bought toilet rack and a bottle fell off the top shelf and narrowly missed hitting me in the head. No… we didn’t anchor it to the wall. Yes… that was in the instructions. Don’t worry we don’t plan on suing the manufacturer…
I had seen some awesome floating shelves that I liked, but I didn’t think the super-contemporary vibe was going to mesh well with my more rustic vision. So I walked around the hardware store until I came across these metal straps and brackets, which got me to thinking…
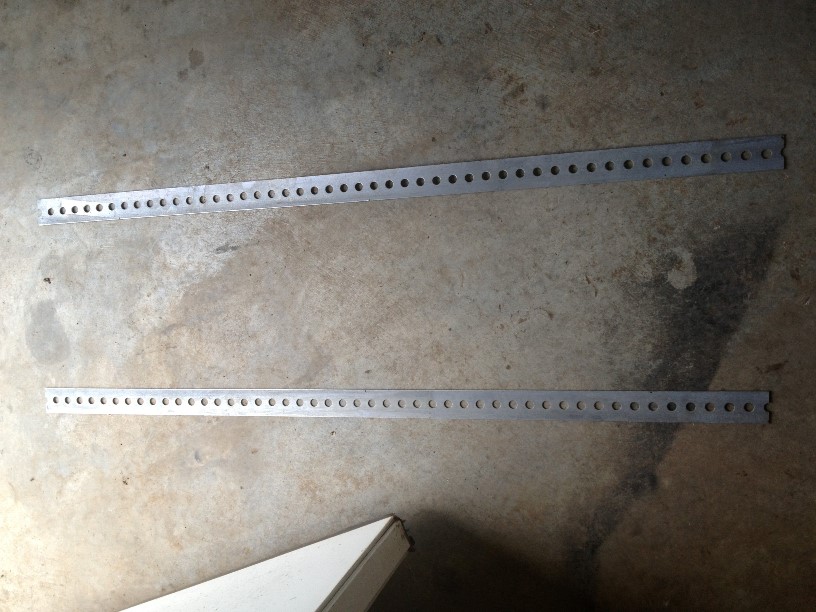
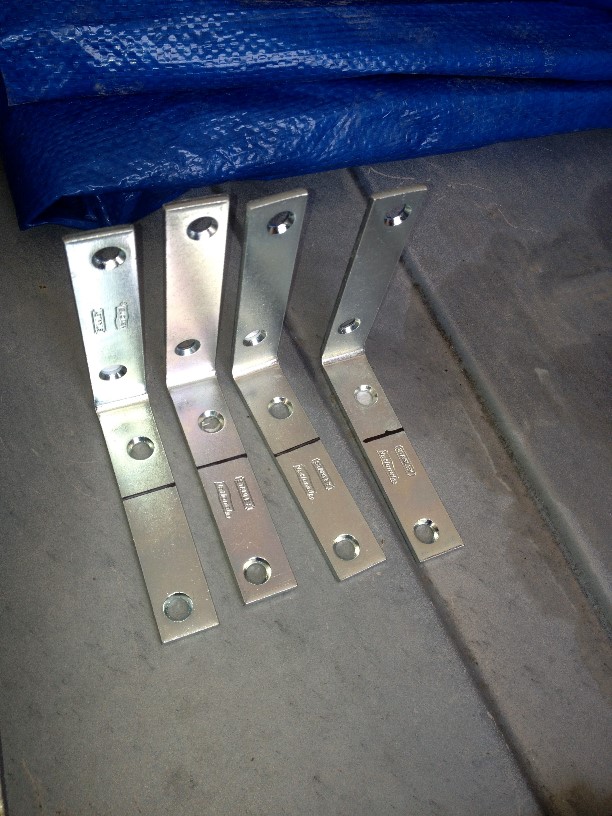
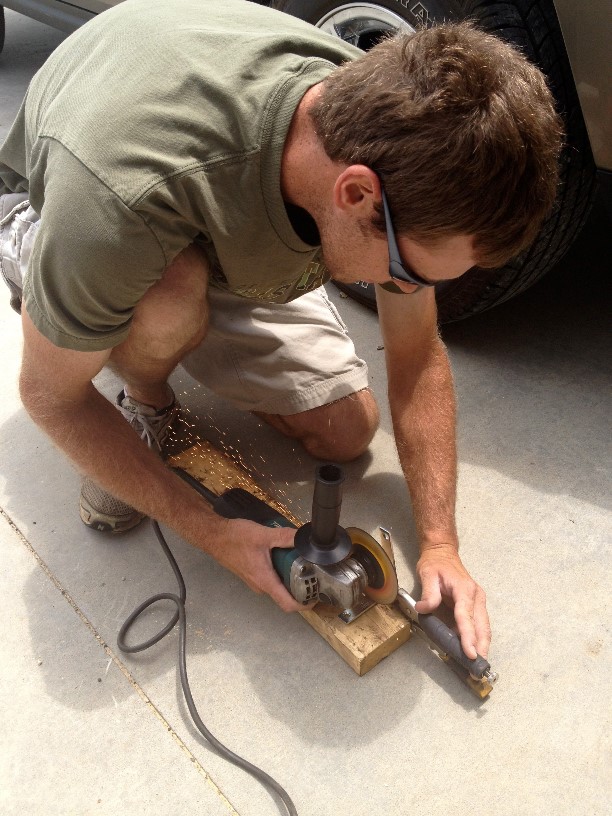
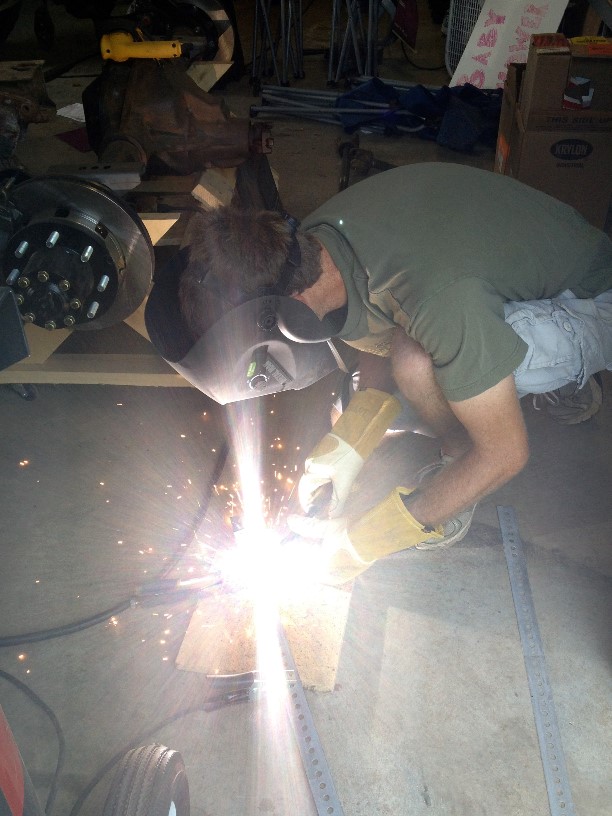
Brett welded the brackets to the straps so the shelves would be spaced evenly apart.
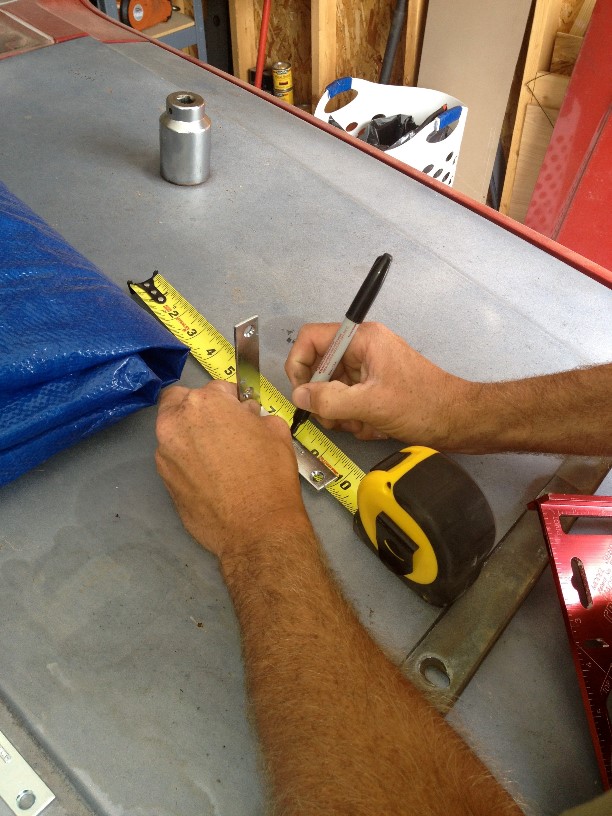
While he was welding I took a 1×6 and cut it into three, even pieces. I determined the shelf width based on the old over-the-toilet rack width. I sanded the top-side of each shelf because I knew that rustic, rough wood won’t be easy to dust unless it’s smooth. I stained each board dark walnut and sprayed each shelf with a few coats of poly.
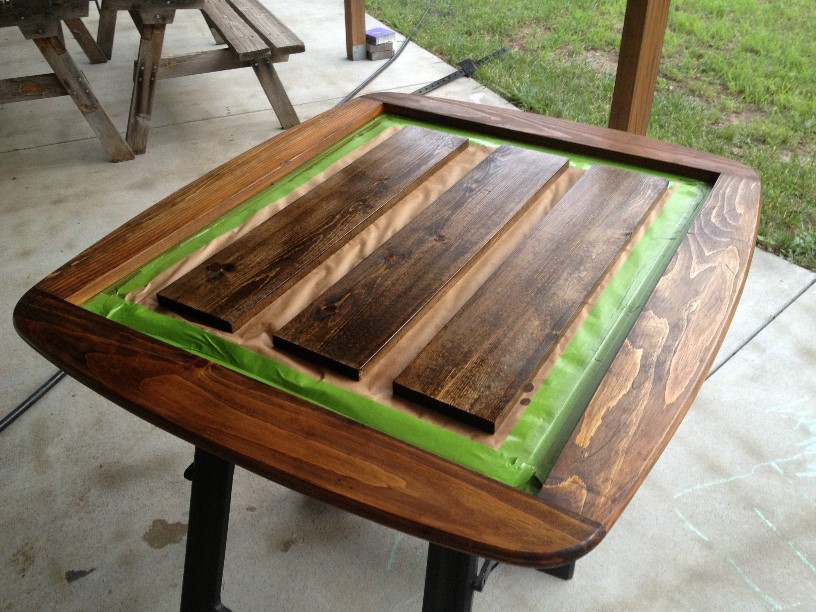
Notice that there’s more to that picture than just the three shelves? Be patient!
When Brett was done with the brackets I hung them from our deck on a hanger (that’s how we spray paint everything) and sprayed them black. No pictures of that.
While all of that was going on, I was busy as a bee painting the bathroom in the dark. We had removed the old light to replace it with the new light. Since I was too lazy to move the toilet, I bought one of those skinny rollers, but I also wrapped the toilet in Saran Wrap to protect the back side from paint!
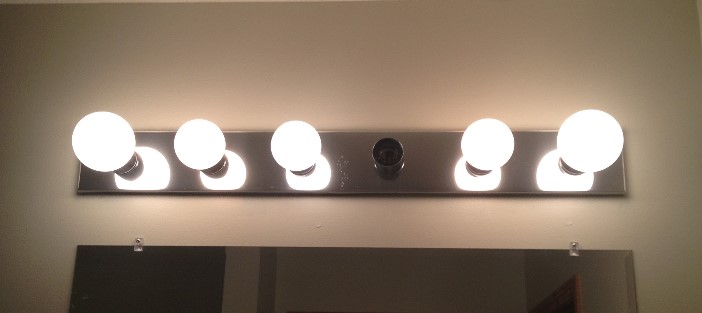
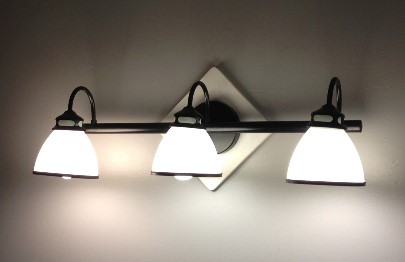
Oh yeah, prior to some of the painting, Brett sure was thrilled to install the new light fixture for me. It was a Menard’s Clearance fixture I snagged for $29. Yeehaw!
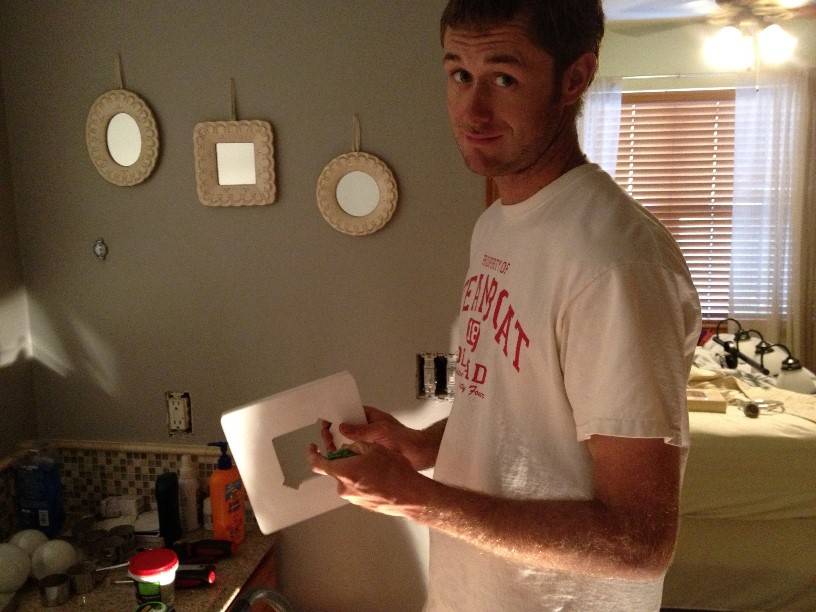
We had an issue with the hole on the wall not being centered above the sink, which irritated me to no end. So, I dreamed up this little decorative frame, that Brett attached to the wall behind the light fixture. Adds a little pizzazz, if you ask me.
Next came the tricky part. We wanted these shelves to hold some amount of weight and we knew screwing the straps into sheet rock wasn’t going to work. One strap lined up directly with a stud, but the other side did not, so we had to use some wall anchors. The versatility of these straps meant we could easily screw them into the wall at any point along the strap. We went with a screw placed at three different points along the strap to make sure everything was nice and secure.
The last step was to attach the shelves. We used some small wood screws to attach the shelves to the brackets. Because the brackets had two holes we went ahead and used four screws on each shelf.

Final result? BEEE-U-TEE-FUL! Did anybody notice the mirror update? That was a $14 Goodwill find! It used to be on top of a mid-century dresser. When I found it the dresser was long-gone, but the mirror was in decent shape. I sanded away the blonde finish and stained a rich brown. The darker wood tones warm that bathroom right up!
Some day soon you’ll get to see the other side of that door…
